I figured out what to do for Monica & AJ’s invites!!!
Any guesses??
I will hand screen print the invites!
How perfect is that? The cream text will be so vibrant against any dark brown paper I pick. So, I bought a screen-printing set up and am officially on to learning the ropes. This invitation has a special spot in my heart because it has forced me to branch outside of print work and into hand screen-printing, which I have no idea how to do. But I really like a new challenge!
I’ve been watching a TON of YouTube videos and reading an e-book on screen printing. I learned everything- from applying emulsion, to making screens, to how much force to use when pulling the squeegie across the screen.
Applying emulsion is SO hard!!! And you have to use one sheet for each screen so it can get expensive. I actually ended up ordering a pint of liquid emulsion to apply with a scoop coater (I’ve officially learned all the lingo too!) which saves a ton of money and allows for lots of re-dos, which I’m grateful for. But, I did eventually get the emulsion right.
Here is a picture of the screen:
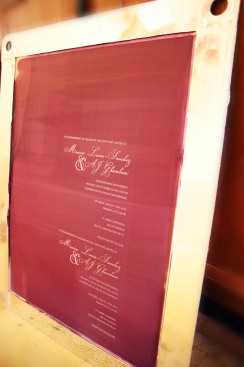
- 1st Step: MAKING A SCREEN. This is a picture of a completed screen. The purple stuff is the emulsion. Basically you set the emulsion with a UV light (it doesn’t set any spot that is covered- so you use a transparency with your printed image to keep the purple from setting in those spots) The unset stuff washes out under a pressure washer, thus leaving holes for the paint to go through. The purple emulsion blocks the paint from going through where it shouldn’t.
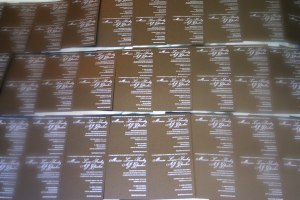
You can only do one color at a time. Monica and AJ asked for a 3 color invite so you have to have one screen for each different color. Here’s a batch of the first phase of printing- the white layer. You can see that there are two invites per page because it saves money on paper. You just cut them all apart after printing.
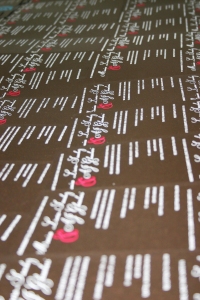
 With the fuschia “&” symbol added:
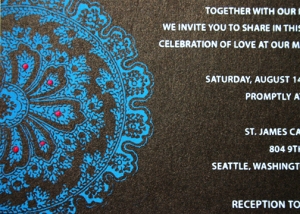
And finally, a closeup of the turquoise Indian design added last. I also hand-placed pink dots in the turquoise design, on each invite.
Pretty cool huh!?


Leave a comment